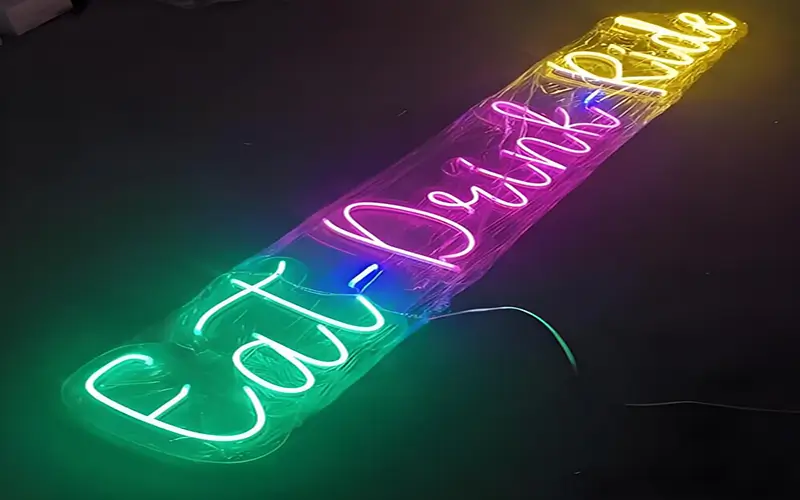
Have you ever DIY your own neon LED sign and neon logo? It is a very meaningful thing. When night falls, neon LED sign light up all around, attracting people’s attention, all kinds of shining and shining, very eye-catching. More neon flex information, pls read What is an LED Neon Flex Lights?
Most neon LED sign and logo are eye-catching, and most of them use flexible LED light strips to imitate the appearance of traditional neon signs. They are a modern, energy-saving alternative to traditional neon signs. But how to DIY your LED neon sign?
Differences Between Traditional Neon Signs and LED Neon Signs
Traditional neon lights are made of glass on the outside and various gases on the inside. We can make a simple comparison. Glass Neon Lights vs. LED Neon Flex: A Comprehensive Comparison
| Feature | Traditional Neon Signs | LED Neon Signs |
| Gas Filling | Filled with neon or argon gases | No gases |
| Energy Consumption | High energy consumption | Low energy consumption |
| Safety | Requires a licensed electrician for installation | Safer; suitable for DIY projects |
| Durability | More fragile; prone to breakage | Flexible and durable |
| Cost | More expensive | Generally more affordable |
| Installation | Inconvenient and easy to break | Easy installation, you can operate it yourself |
| Transportation | Very heavy and inconvenient to transport | Very convenient for transportation |
Why Use LED Neon for Neon LED Sign?
Compared to traditional neon lights, we still recommend using LED neon tubes for neon signs. Because the safety factor is relatively high, and it is more energy-saving and easy to operate.
1. Energy saving
LED neon lights consume much less energy than traditional neon lights. Because they use low-voltage power supply and consume less electricity, they can still effectively save energy when running for a long time.
2. Long life
LED neon lights have a very long service life, usually lasting tens of thousands of hours, far longer than traditional neon lights. Moreover, the shelf life of LED neon lights is more than 5 years, which greatly reduces the maintenance and replacement costs, making them very suitable for signs or billboards that need to be used continuously.
3. Low maintenance cost
Because LED lights have longer life and better durability, and are not easily damaged during transportation and installation. And there is no need to regularly replace lamps or repair gas leaks, etc., so the maintenance frequency and cost are reduced.
4. High safety
LED neon lights are much safer than traditional neon lights. Traditional neon lights use high-pressure gas, which will generate high heat and increase the risk of electric shock and fire. LED neon lights use low voltage, generate very low heat, will not overheat, and avoid safety hazards.
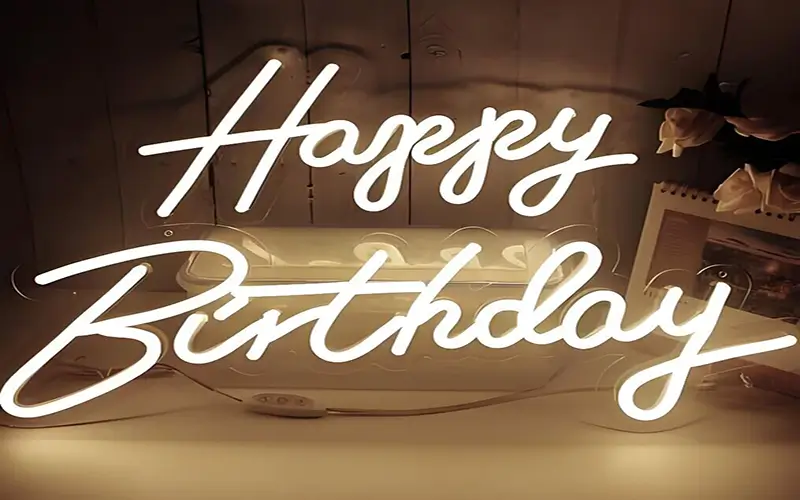
5. Diverse color and brightness options
LED neon lights offer a variety of color and brightness options. A variety of design requirements can be easily met. From a single color to a gradient effect, it provides more creative space for logo design.
6. Flexible design
LED neon lights are light and soft, so various complex shapes of signs can be made. This flexibility means that LED neon lights can easily produce text, graphics or brand logos to meet the needs of different occasions and are more customizable.
7. Suitable for indoor and outdoor use
LED neon lights are not only suitable for indoor use, but can also be used in outdoor environments. Its stable performance and durability make it an ideal choice for outdoor signs, advertising signs and landscape lighting.
How to DIY Your Own Neon LED Sign?
First of all, it depends on your purpose, whether it is a simple sign for your room or a store, but you can refer to the steps below. Pls read How to Make Your Own LED Neon Signs?
1: Materials Required
LED neon flex lights
Power supply
Clear acrylic sheet or base
3M Adhesive or mounting clips
Sketch pencil
Wire cutters
Soldering iron
Electric drill
2: Planning the Design
- 1: Think about the purpose of your neon tube sign, whether it is a personal hobby or commercial use. Another thing is the location of the installation.
- 2: Sketch out the design you want on a piece of paper. It can be a word, symbol, or shape. If your sign is for commercial use, choose a font that reflects your brand identity.
- 3: Transfer your design to the acrylic board using a pencil or marker. This will serve as a guide when you place the LED light strip.
3:Transfer Your Design to the Acrylic Sheet
- Trace the design: Place the sketch mockup on the acrylic sheet and carefully trace the outline with a pencil or marker.
- Cut the acrylic sheet: Cut the traced design from the acrylic sheet. Make sure the cuts are precise.
- Sand the edges: Please sand the edges of the acrylic sheet and handle the acrylic sheet carefully to avoid scratches.
4: Measure/Cut the LED neon strip
Measure the length of your design and mark each cutting point. Most LED neon strips are designed with cutting point markings, so be sure to cut at the appropriate location.
5: Install the LED Neon Flex Onto the Acrylic Board
- 1: Open the 3M adhesive or mounting clips to install the LED light strip along the design outline. Start from one end and install along the line you drew.
- 2: Press the LED light strip firmly to ensure it is properly attached. It is best to leave it for a little longer to let the glue fix. If you wanna install the neon sign to the wall, pls read How to Hang LED Neon Signs on the Wall?
6: Connect the Power Supply
To select a compatible power supply, make sure the power and voltage of the LED power supply match the LED neon tube. Then connect to the power supply. If you use multiple light strips, you may need to connect them in series or use a shunt, depending on the design.
7: Test Your Neon LED Sign
Once everything is connected, test your sign by plugging in the power supply or battery. Check each connection and make adjustments. Once it lights up, you can secure it.
8: Display Neon LED Sign
If you plan to hang your neon LED sign on a wall, secure the screws or mounting hardware to the back of the acrylic sheet. You can then enjoy your creation.
Conclusion
Designing and making your own DIY neon LED sign is a fun and skillful project. You need to take the time to carefully plan your design to create a neon sign that reflects your unique style and personality. Ultimately, you will create a unique and eye-catching neon LED sign that is perfect for your space or event. We can provide 5 years of quality LED neon tubes, please contact us if you have any needs.