The LED Neon Flex is a bendable, waterproof, cuttable, and versatile lighting solution. Especially effective in creating logos and patterns. Its main advantage is that it can be cut and solder LED neon flex for use again. And can be cut to custom lengths based on your project’s design requirements.
How to cut LED neon flex to the length you want according to your design requirements is much simpler than you think. The premise is that we need to confirm whether the LED neon flex you choose supports cutting. In this guide, we’ll show you how to safely and successfully cut and solder LED neon flex to the length you want.
What are LED Neon Flex Lights?
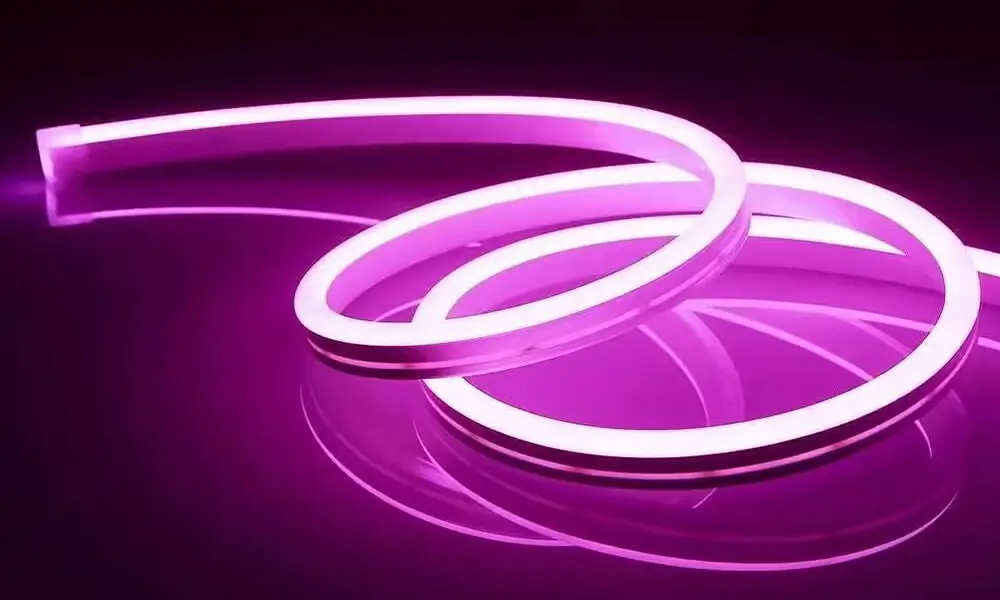
LED Neon Flex lights are a versatile and energy-efficient alternative to traditional neon lighting. Made of flexible silicone filled with LED strip lights, LED Neon Flex offers the same vibrant glow and visual appeal as neon signs but with added benefits such as durability, low power consumption, and ease of installation.
It can be used for a wide range of applications, including indoor and outdoor signage, architectural accents, decorative lighting, and more.
Why Cut LED Neon Flex?
Conventionally, our LED neon flex is 5 meters per roll. We support customizing the length of LED neon flex according to your lighting needs. However, in some cases, you may need a custom length to suit specific space or design requirements.
Cuttable LED neon flex allows for more creative freedom, without compromising lighting function or aesthetic appeal. When cut and solder the LED Neon Flex, you can create unique shapes, and designs, and even repair damaged lighting sections.
Cuttable LED Neon Flex is extremely versatile as it can be customized to fit a range of applications such as:
- LED Neon Flex Sign
- Border Lighting
- Accent Lighting
- Neon Flex Displays
What Do I Need to Prepare Before Cut & Solder LED Neon Flex?
Before you start cutting LED Neon Flex. We need to make sure that the LED neon flex is ready for cutting and prepare the necessary cutting tools.
Here are some steps to prepare your LED Neon Flex for cut & solder:
- Measurement and marking: Before cutting, you need to carefully measure the installation area to determine the required length. And mark the cutting position of the LED neon tube. Keep in mind that if you try to cut anywhere other than the markings, you will damage the internal wires. Which will cause the LED segment to fail.
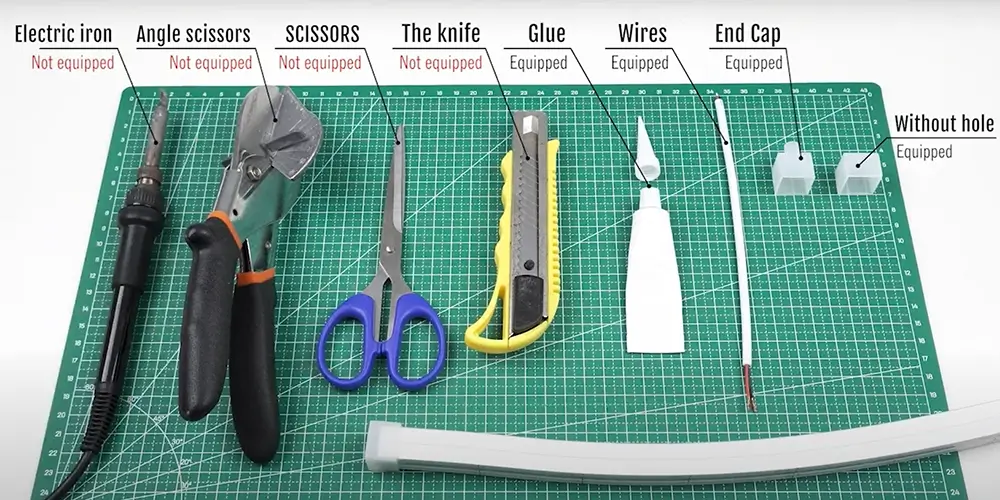
- Gather tools: You will need a sharp utility knife or scissors, wire cutters/strippers, heat shrink tubing, heat gun or lighter. And soldering equipment (soldering iron, solder, and flux).
- Disconnect from power: Before doing any cutting or welding, make sure the LED Neon Flex Light is disconnected from the power source, or you may short circuit.
How to Cut and Solder an LED Neon Flex?
First, we need to disconnect the power supply of the LED strip, and then follow the steps below.
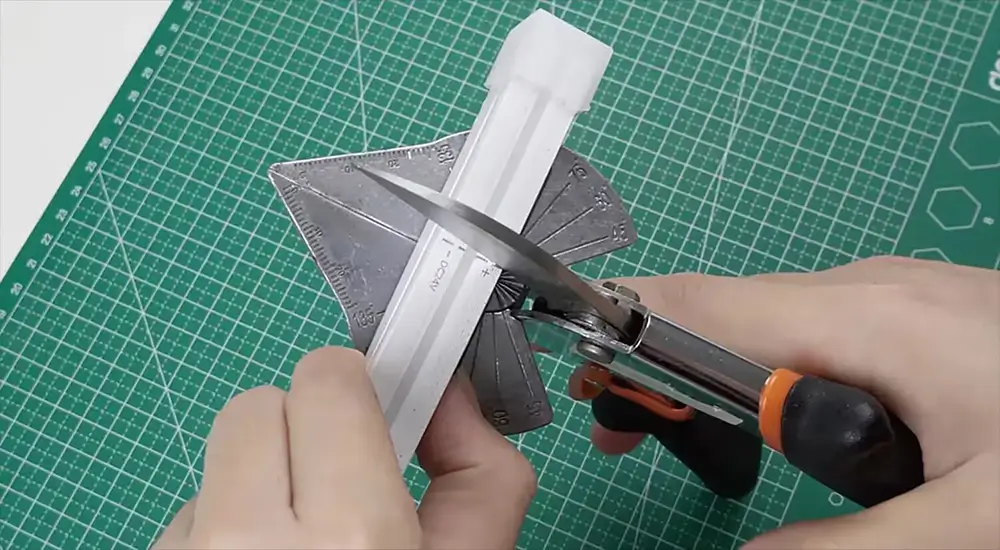
- Cutting the LED Neon Flex: Place the LED Neon Flex on a clean, stable surface. Align the cut marks with the edge of the bench or flat surface and use the scissors to make a straight, smooth cut through the pipe, being careful not to damage the LED lights or internal wiring.
- Handle the ends for easy soldering: Peel the outer sheath from each cut end of the LED Neon Flex and carefully remove the silicone protection to expose the inner wires. Use wire cutters or wire strippers to strip the insulation off approximately every exposed wire.
- Solder connections: Apply flux to the exposed wires to ensure clean, strong solder joints. Heat up your soldering iron and apply it to the ends of the wires, melting a small amount of solder to each wire. After welding, put the IP67 silicone joint tube through the wire, then apply the sealant and heat it with a heat gun or lighter to shrink and seal the tube.
Is it Worked After Cutting LED Neon Flex?
Yes, it’s fine if you cut along the cut marks normally. LED Neon Flex lights will still work fine after cutting and soldering.
Plus, you need the correct soldering, the cutting process will not affect the function or electrical connection of the LED light. By following proper cutting and soldering techniques, you can maintain the desired functionality and illumination of your LED neon flex.
Conclusion
LED Neon Flex is a support cut and solder to use again. So, you can customize the length, shape, and design of your lighting to your specific requirements. But it is very important that you follow the recommended procedures to ensure a safe and successful process. By preparing the LED Neon Flex, make clean cuts. And securely soldering the connections, you can achieve the results you want without compromising performance.
FAQs
Yes, after cutting the LED neon flex, you can solder the LED Neon Flex yourself. Use a low-temperature soldering iron (approximately 300-350°C) and heat shrink tubing to secure the connection.
You don’t need any special tools, just a pair of scissors is enough.
First, you need to find where to cut, please use a ruler as a guide when cutting the LED Neon Flex to ensure a neat cut. You want to make a smooth, continuous cut along the specified line, not sideways.
Yes, LED Neon Flex can be bent after cutting. However, you can’t bend the light strip too much, and you can’t damage the internal wires or the LEDs.
Yes, you can install cut LED Neon Flex outdoors. However, after cutting, be sure to use silicone sealant. Which is still IP67 waterproof, and attach weatherproof measures such as waterproof connectors to protect the connection from moisture.